Enhancing Your Property Listings with Professional Interior Photography
Preparing the Space
Declutter and Clean
Before capturing interior shots, it’s crucial to present a clean and clutter-free environment. Removing unnecessary items and cleaning thoroughly ensures that potential buyers aren’t distracted by personal belongings and can appreciate the space itself.
A minimalist approach helps emphasize the features of each room, making interiors appear more spacious and appealing.
Staging the Interior
Staging is key to making a property feel inviting and livable. Arrange furniture and décor to maximize the flow and functionality of each room. Neutral decorations and strategic placements can help buyers envision themselves living in the space, enhancing its attractiveness.
Effective staging not only highlights the best aspects of a property but also helps in photographing them effectively.
Key Aspects of Effective Staging:
- Furniture Arrangement: Position furniture to maximize space and create an inviting layout.
- Decor Selection: Choose neutral, appealing decors that complement the space without overwhelming it.
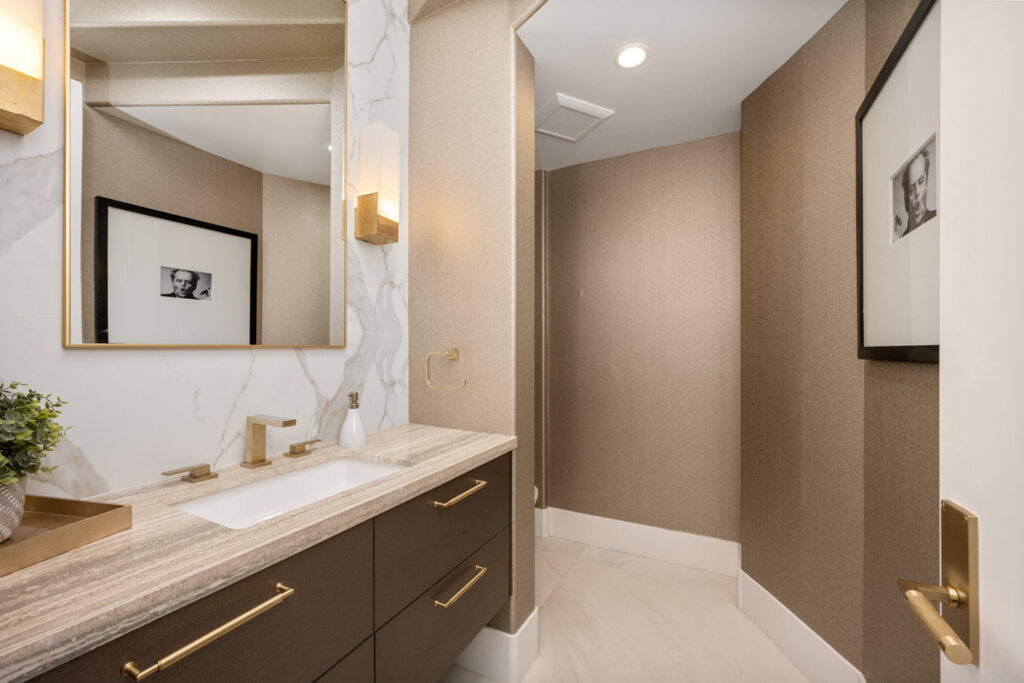
- Accent Details: Add subtle accents like plants or artwork to enhance the room’s aesthetic appeal.

Lighting Techniques
Using Natural Light
Natural light is your best ally in interior photography. It brings out the true colors and textures of the room and provides a warm and welcoming feel.
Schedule photo shoots during the time of day when natural light is most abundant in the space, typically mid-morning or late afternoon. Ensure curtains and blinds are open to allow as much light in as possible.
Supplementing with Artificial Lighting
While natural light offers a great base, artificial lighting can help to balance out any inconsistencies caused by overcast days or poorly lit rooms.
Use soft, diffused lighting to eliminate harsh shadows and highlight the room’s best features. Strategic placement of lamps and overhead lights can create a cozy and inviting atmosphere.
Optimal Artificial Lighting Setup:
- Soft Lighting: Use softboxes or diffused LED panels to soften shadows.
- Accent Lighting: Highlight architectural features or artwork with directed lights.
- Ambient Lighting: Ensure overall room illumination is even and pleasing.
Camera Settings and Equipment
Choosing the Right Equipment
The right gear can make a significant difference in interior photography. A high-quality DSLR or mirrorless camera paired with a wide-angle lens is ideal for capturing the full essence of interior spaces. A tripod is also essential to stabilize your shots and keep the framing consistent.
Optimal Camera Settings
To ensure your photos are sharp and well-lit, adjust your camera settings accordingly. Use a small aperture (high f-number) to achieve a greater depth of field, keeping more of the room in focus. Set your ISO as low as possible to avoid grainy photos, and adjust the shutter speed to balance the exposure.
Composition and Perspective
The Rule of Thirds in Interior Photography
Applying the rule of thirds helps to create balanced and engaging photos. Divide the shot into thirds both horizontally and vertically, and place the main elements of the room at the intersections of these lines. This technique helps draw the viewer’s eye into the composition, making interior features more striking.
Capturing Unique Angles
Experiment with different angles to find the most compelling views of interior spaces. Try shooting from doorways or corners to get wide perspectives, or capture high-angle shots to show the layout of the space. Low-angle shots can make rooms appear larger and more grandiose.
Post-Processing Techniques
Basic Editing Tips
Simple adjustments in post-processing can significantly enhance the appeal of your photos. Boost the brightness and contrast to make your images pop. Adjust the saturation to bring out the colors without making them look unnatural.
Advanced Editing Techniques
For more sophisticated edits, tools like Adobe Lightroom or Photoshop are invaluable. These programs allow for detailed adjustments like color correction, object removal, and sharpening of image details, which can refine the presentation of the space dramatically.
For an in-depth look at mastering various interior photography techniques, consider exploring “Interior Photography: How to Get the Perfect Shot”, which provides further insights and examples to help improve your skills.
Conclusion: Perfecting Your Interior Real Estate Photography
Interior photography is a crucial component in the real estate market, especially in competitive regions like Los Angeles. Employing professional real estate photography in Los Angeles can significantly enhance the appeal of your property listings, attracting more potential buyers by showcasing homes in their best light.
Implementing these techniques will elevate the quality of your interior real estate photography, attracting more potential buyers and helping your listings stand out in a competitive market. High-quality photos are crucial for making a first impression online, where most buyers first encounter your listings.
End Note
At Ilumin Re Social, we specialize in creating visually compelling real estate content that captures buyers’ attention. As your dedicated real estate videographer in Los Angeles, we are committed to bringing out the best in your properties through expert photography and videography.
Contact us today to enhance your listings and drive more successful sales with professional interior photography and videography services. Discover how our expertise as a Los Angeles real estate videographer can make your properties shine even brighter.


